Are you a night owl or a camera enthusiast? Have you ever found yourself wanting to capture mesmerizing moments after sunset? Whether you enjoy cityscapes, astrophotography, or aiming to capture the perfect portrait at nighttime, mastering low-light photography can help elevate your shots and take them to the next level of artistry.
We’ve compiled tips for the trade from professionals and amateurs who know the art of low-light photography. Here is a list of casual and practical tips to help you capture those after-hour pictures!
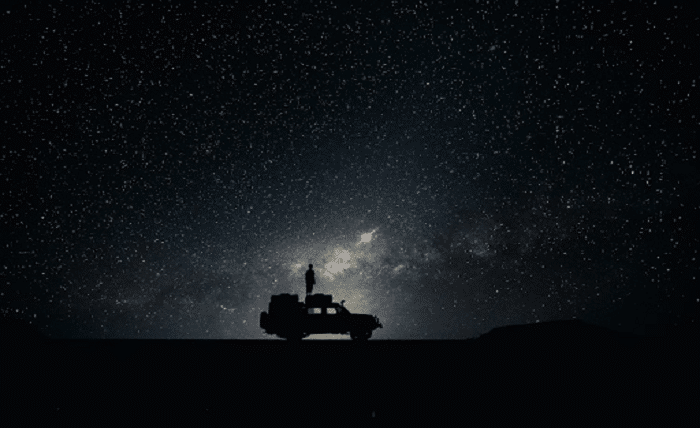
Get Friendly with Your Tripod
Do you know? The trusty tripod is the absolute superstar and MVP of low-light photography, especially at night! This tool helps stabilize your shots and is crucial for long-exposure photography because it helps prevent pesky shaking, unlike the stable Seiko 5 watch price. That way, you can experiment with longer shutter speeds—blurfest no more!
Embrace the Dark Side with Fast Lenses
The Dark Side sure sounds misleading. By the way, we’re not talking about Star Wars and Sith Lords! Your other tool of the trade will be fast lenses; they have wide apertures, so aim to get f/2.8 or lower. Due to their larger aperture, it will be easier to catch more light in your image. As a result, you get less noisy shots and easier shots for starlit skies and moody street scenes.
ISO: The Brightness Dial
The ISO defines the solidity of your image. When the lights are turned down, your best bet is to boost the ISO settings. It helps make the images pop, especially in the darkness. The ISO also helps avoid graininess, so you have to tinker with the settings aside from the ISO so that the settings result in a dark image that is solid and distinguishable but without graininess. The sweet spot is the key.
Focus
Rule number one in photography: always make sure your subject is focused! Autofocus struggles in the dark, so we highly recommend that you master the art of manual focus. Out of focus, who? You can also use the camera’s focus assist feature or zoom in on the subject to get the sharpness and definition you need.
Paint with Light
Low light is perfect for flexing your artistic muscles and feeling creative. Play around with different light sources around you, especially colored ones. City lights, car headlights, a flashlight, and fairy lights can add character, depth, and drama to your photos.
Shoot RAW for Maximum Flexibility
Low-light photos thrive best in RAW. The superhero piece is a low-light photo, and the RAW file format is the cage of the superhero. Shooting in RAW makes editing more accessible, allowing extra wiggle room to become more creative. Tweak white balance, exposure, etc.
Post Processing
The magic comes better at postprocessing. After you’ve got the perfect shot, editing magic can help enhance the image you’ve produced! Play with the colors; perhaps play with contrast and brightness so the photo pops. Regarding editing, the “less is more” approach usually works best.
Wrapping Up
It can be tricky to navigate in the darkness. Stability, ISO, and settings are your keys, and postprocessing will be your next MVP should you want to give the photo more wiggle room. Enjoy the process!